|
Intro: Time to see what I can do when it comes to paper dolls! So I signed up for a swap on IllustratedATCs.com for it and I have been eager to get some turtle art done perfect swap! What I created: I finished only 3 out of 5 turtles for the swap. I have two that need to be cut still and painted but I'll save those for later to try new things on. I used watercolor pencils for these plus white gel pen, black liner, puffy paint and shimmer paint by Hobby Ideas. And yes, when you tuck in the 5 movable parts to hide behind (in front of) the shell they easily fit inside a clear sleeve (ATC size). 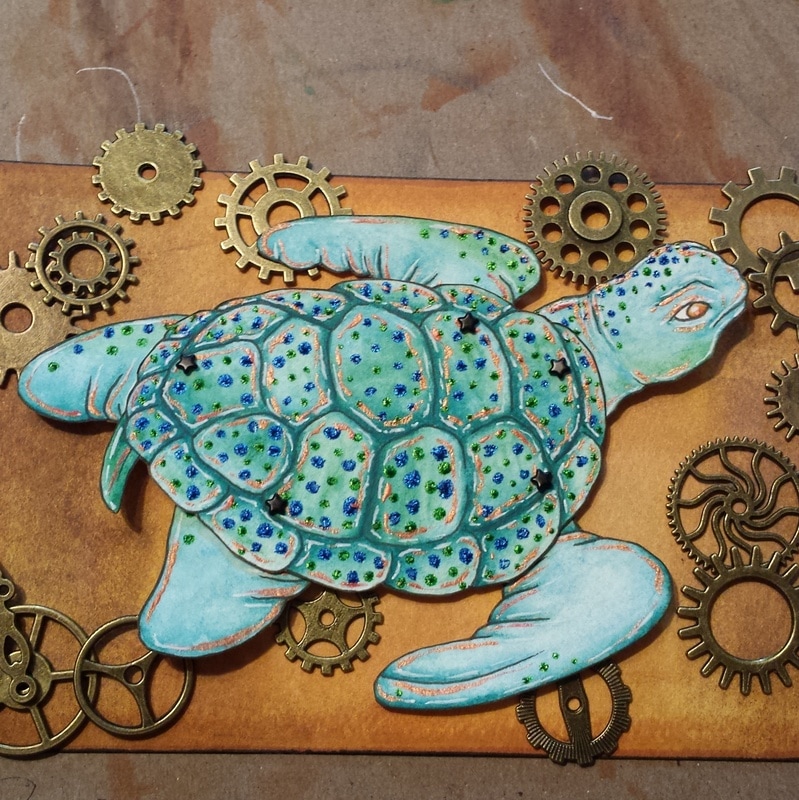 Title: Iridescent Green Sea Turtle Canvas: Paper Doll Series: Sea Turtle Dolls 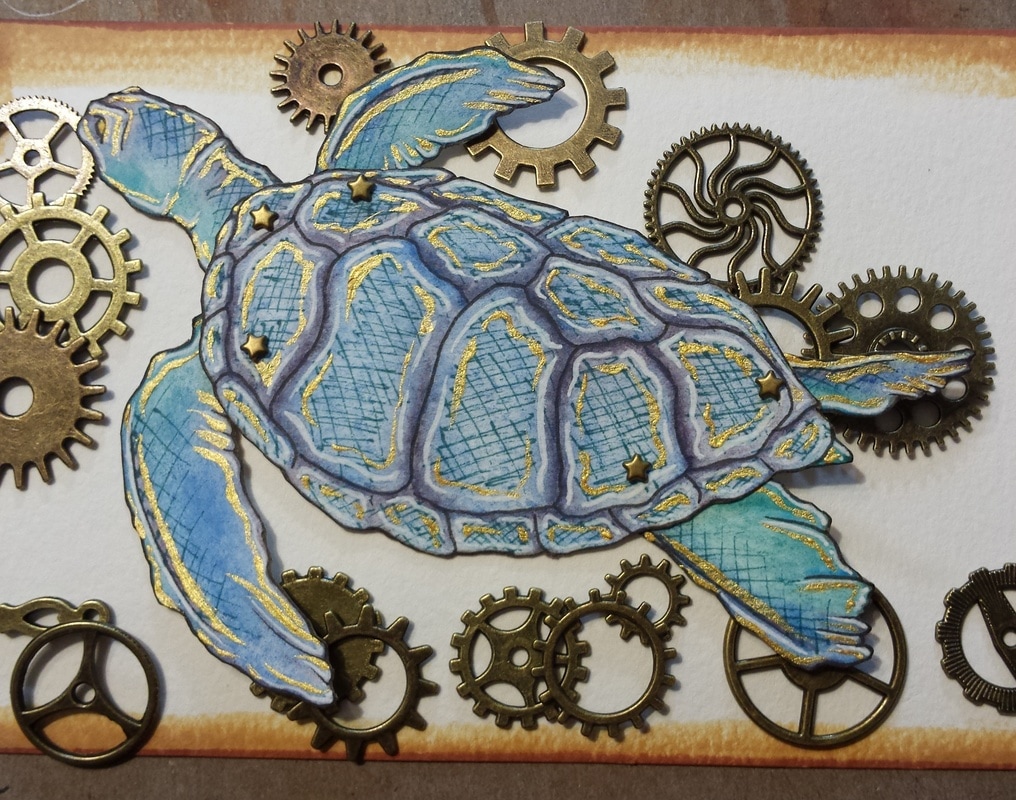 Title: Iridescent Blue Sea Turtle Canvas: Paper Dolls Series: Sea Turtle Dolls *My favorite one* 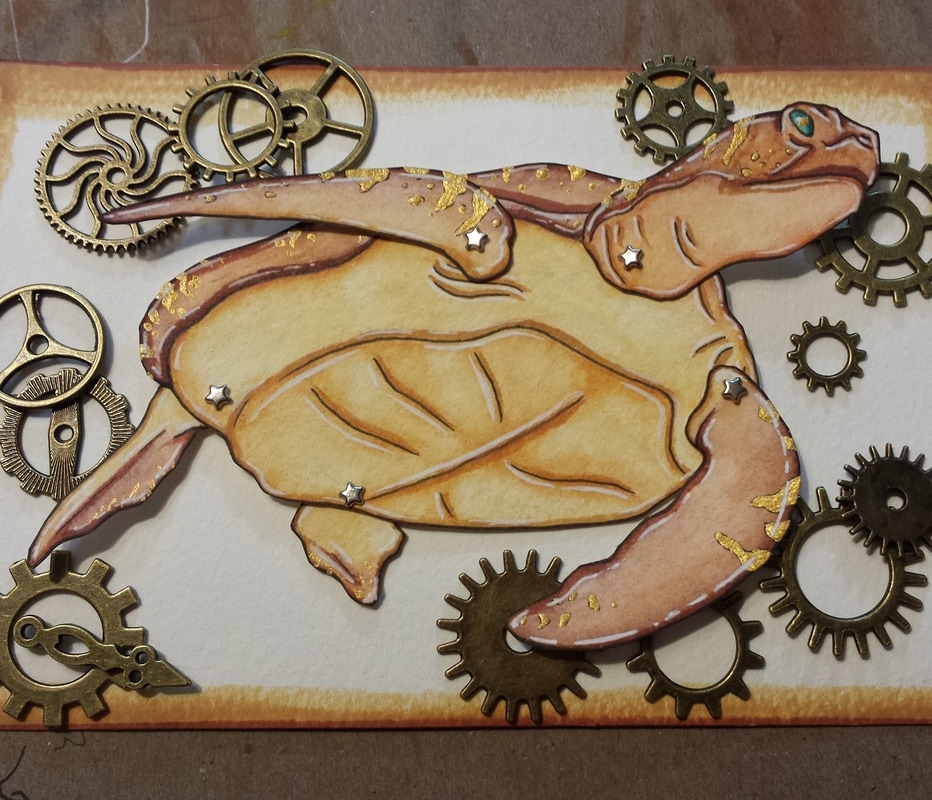 Title: Earthy Sea Turtle
Canvas: Paper Dolls Series: Sea Turtle Dolls
1 Comment
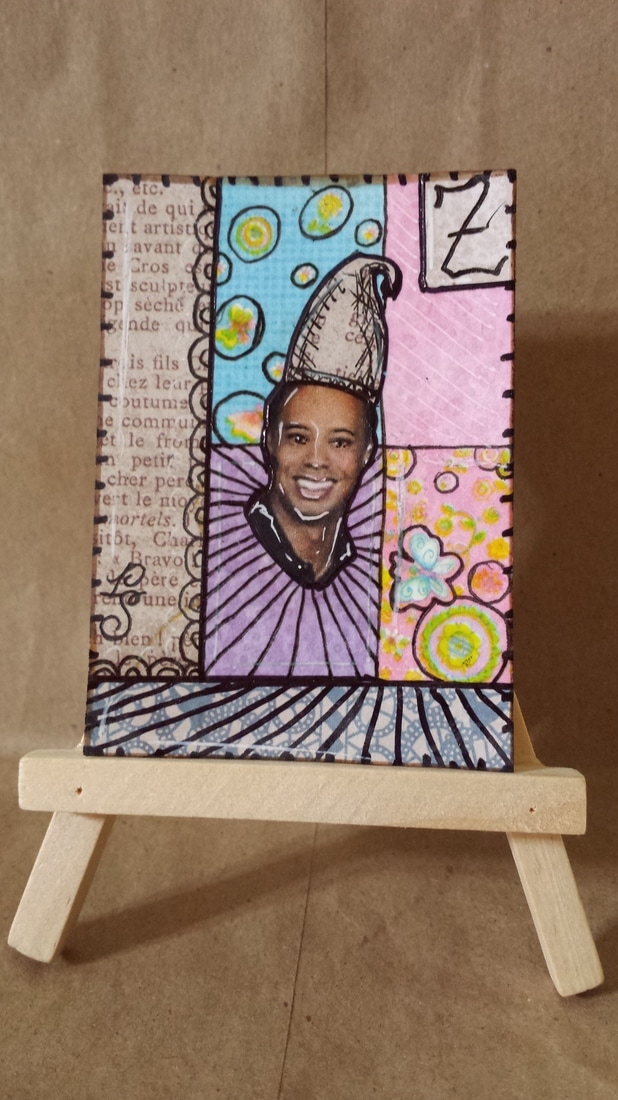
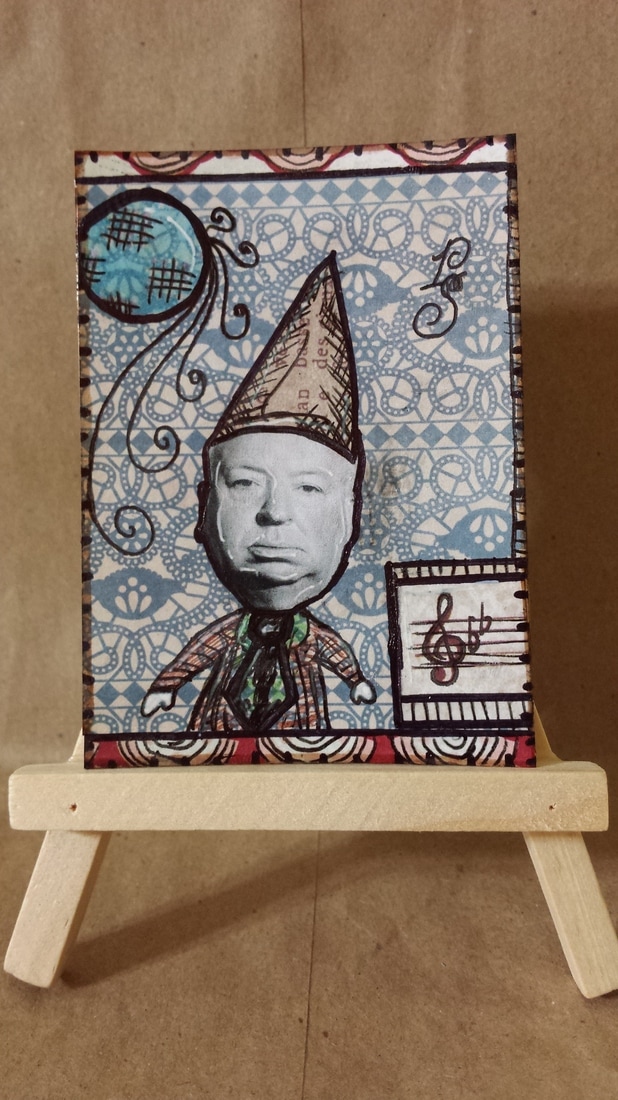
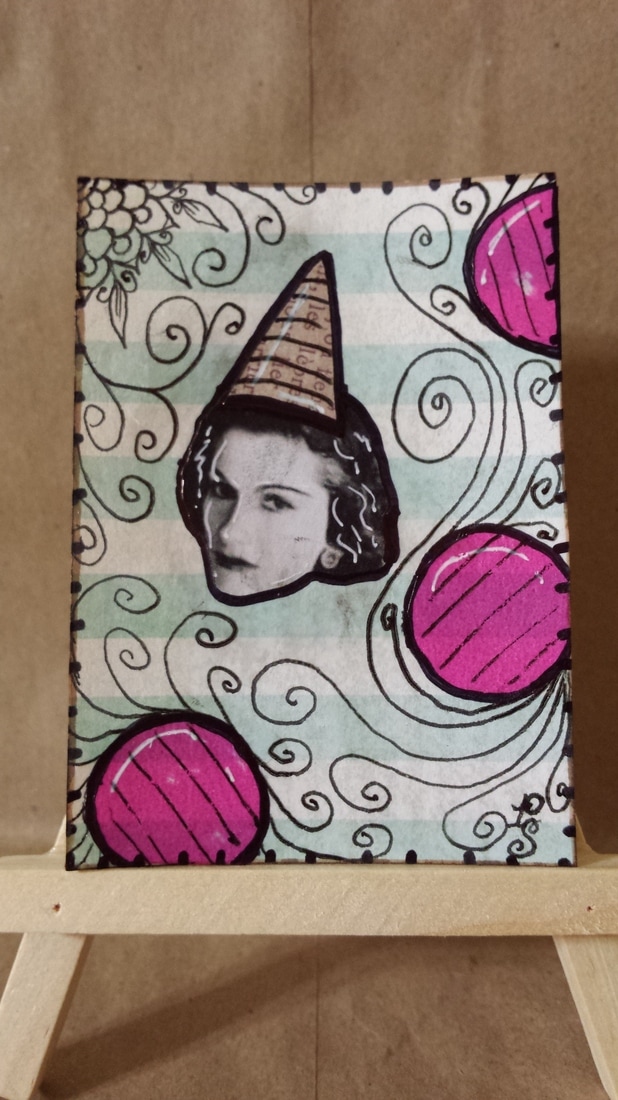
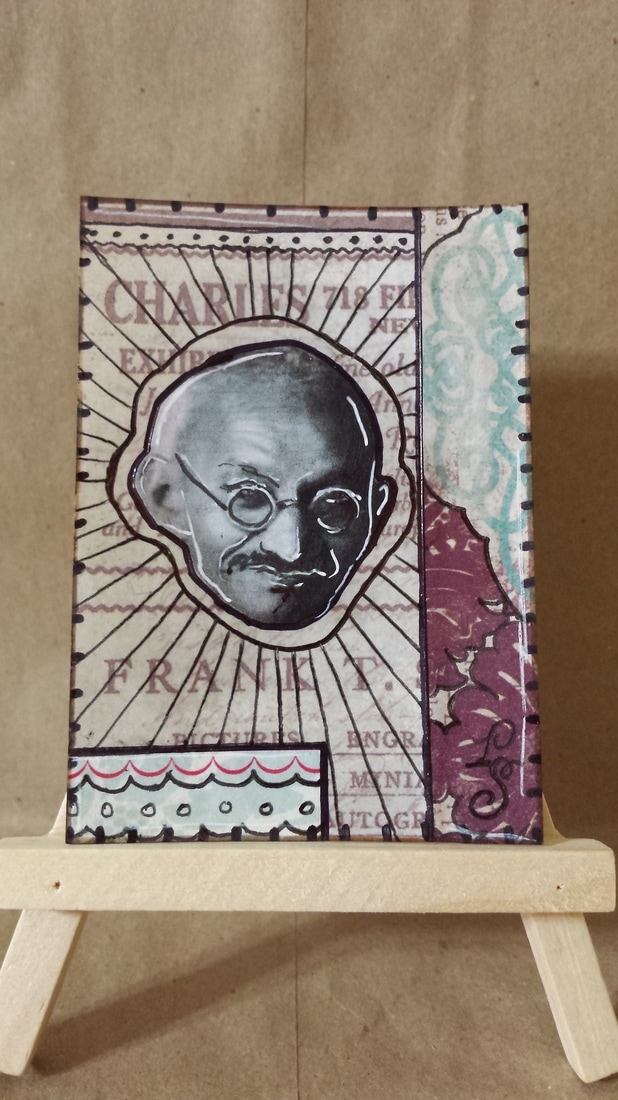
Intro: I joined the Zettis of Historical Figures swap on AFA... why? I need to loosen up the stress I put on myself by doing paintings with details. I need to learn to collage and just have fun when working with multiple mediums. And more than anything - the images I see on Pinterest for zettis really look amazing to me...and I need to just make some that are like that. What I created: I made (attempted) my first ever collage cards...first time doing collage for anything actually. I did 4 cards total using plenty of bits I had left over from pocket letters. I am not really proud of them but there is really nothing I can do with the supplies I have. I do think I need to get actual acrylic paint to make these better or some other mediums that I see being used on YouTube. I tried not to focus on drawing... but I still didn't like how they looked so in the end took a marker and doodled all over them... not sure if that makes them look better or worse now?
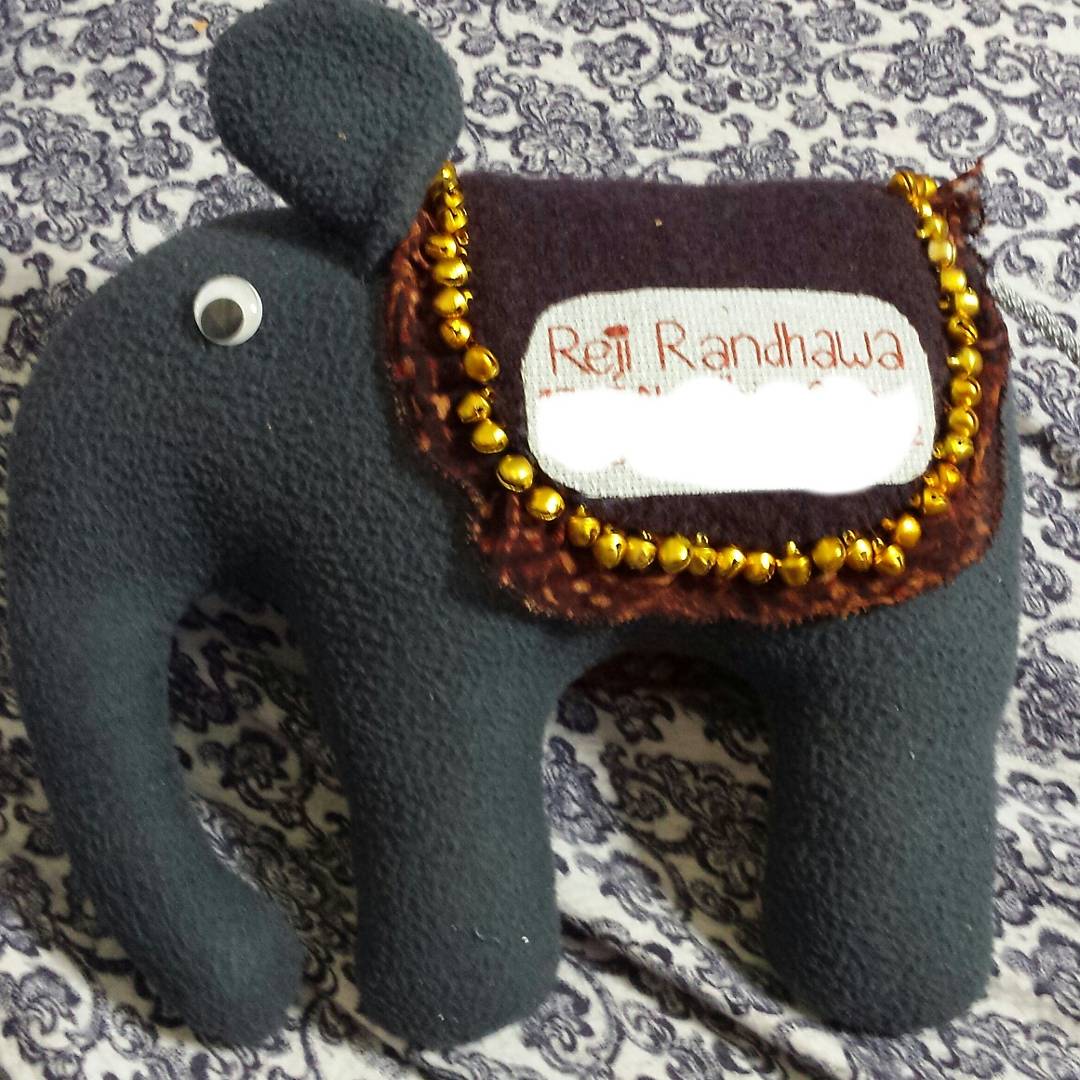
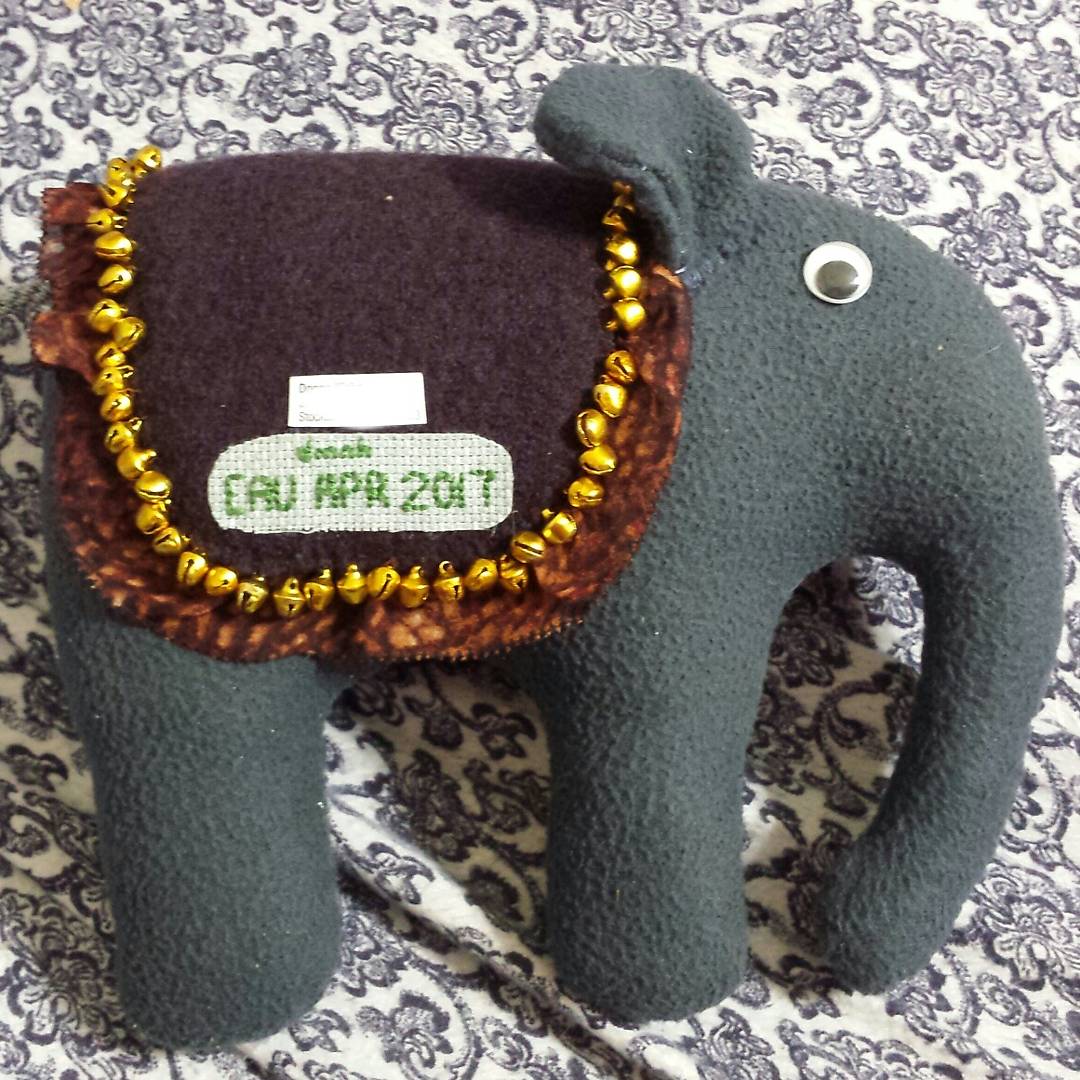
Intro: For our adorable Envie Addicts Unite group on ATCsForAll the month of April was surely a unique one as we did not focus on envies...instead we got to send out weirdy mail! This was my first one and yes as always being the scared artist I am, I did not explore as I should have. I ended up sticking to something that I normally make which kind of ruined the whole purpose. BUT! I have learned! Next time - it'll be more fun, I promise! Reji Has Mail: If you are ever on Instagram then try looking up what posts are listed under #rejihasmail as all of the mail I receive from fellow artists and pen pals is now going to be marked as such. I have decided to give my senders some light by now posting videos on YouTube discussing the mail I receive... still working on a music library so the channel shall be officially released soon. For April my partner was Donna (dmnh). She sent me an elephant plushie named Ellie! And oh is he adorable! He has bells - my most favorite thing to add to any mail! She spent time on this because she put efforts on the address as well. I have blocked the address off but as you can tell by my name she made the mailing address by thread and needle. The unique thing about this is that Donna did what was suggested for us: she sent Ellie as is. No, he did not come in a box or bag or envelope. He braved the postal journey as is without any aide. The tracking label was wrapped around his trunk (I should have taken a picture when he first arrived but oh well).
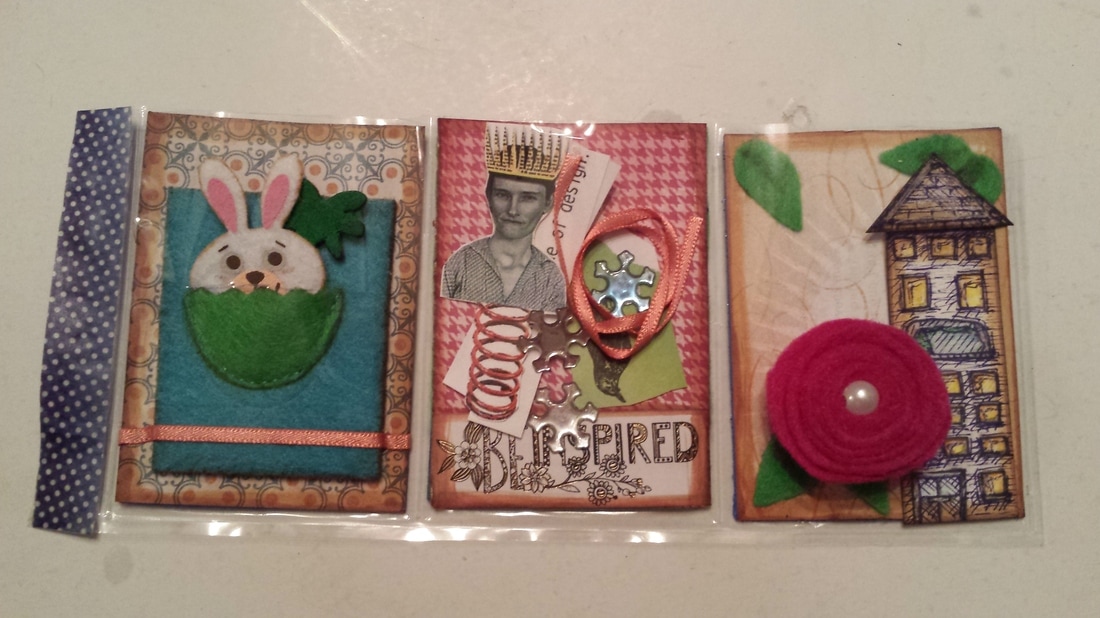
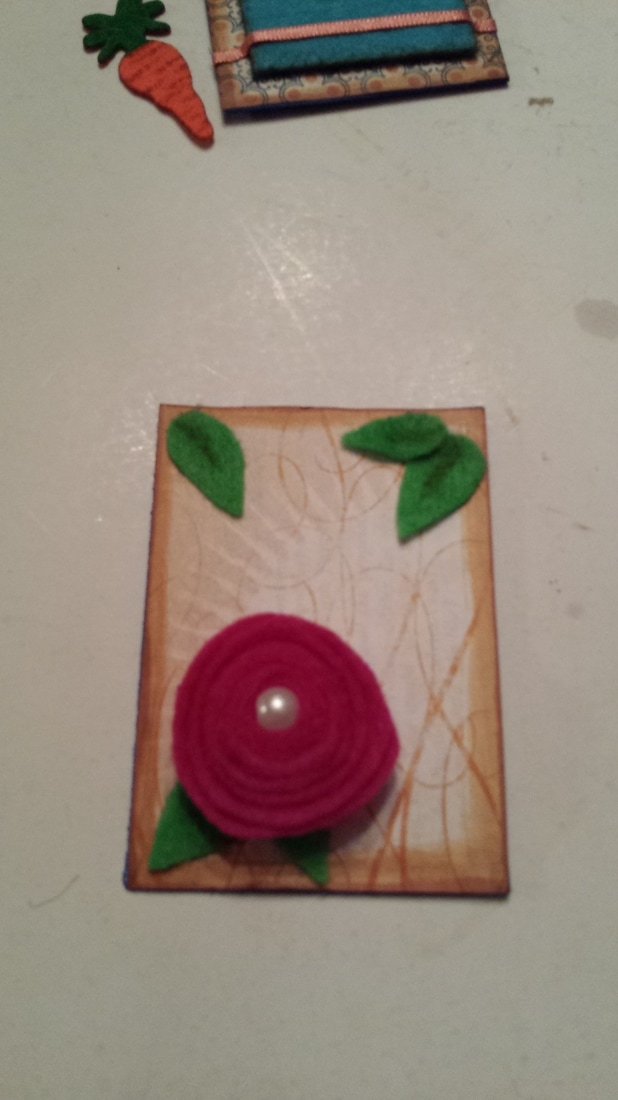
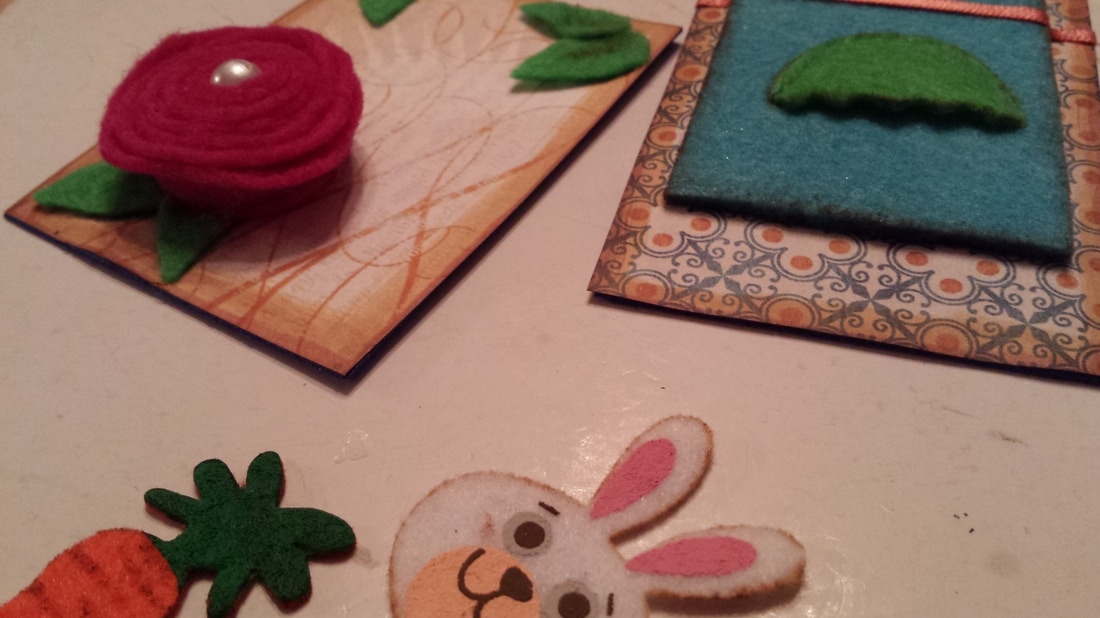
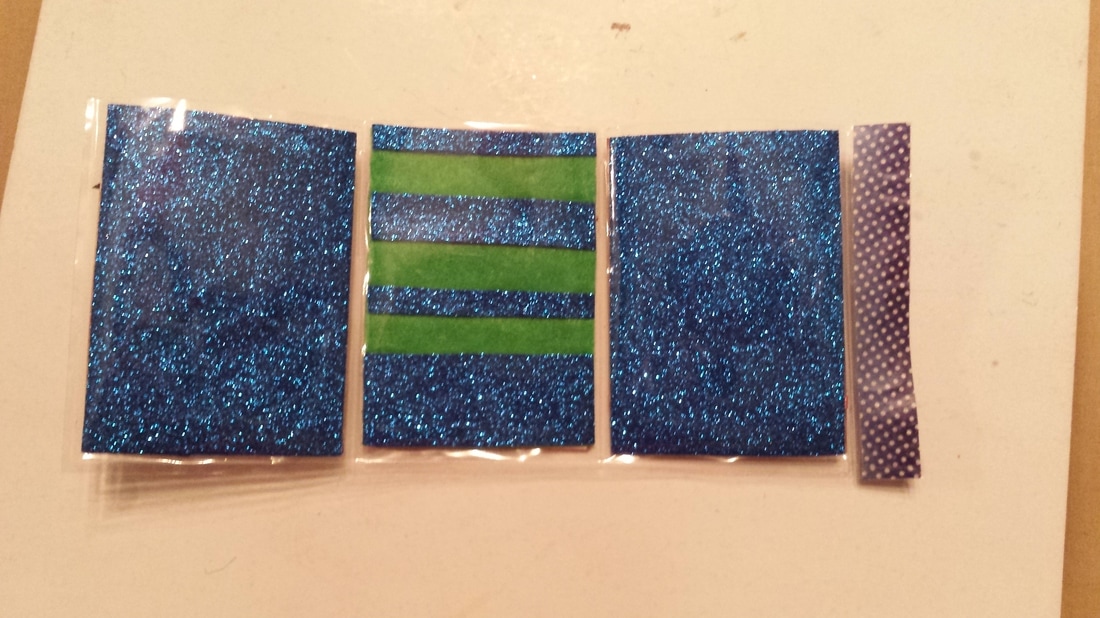
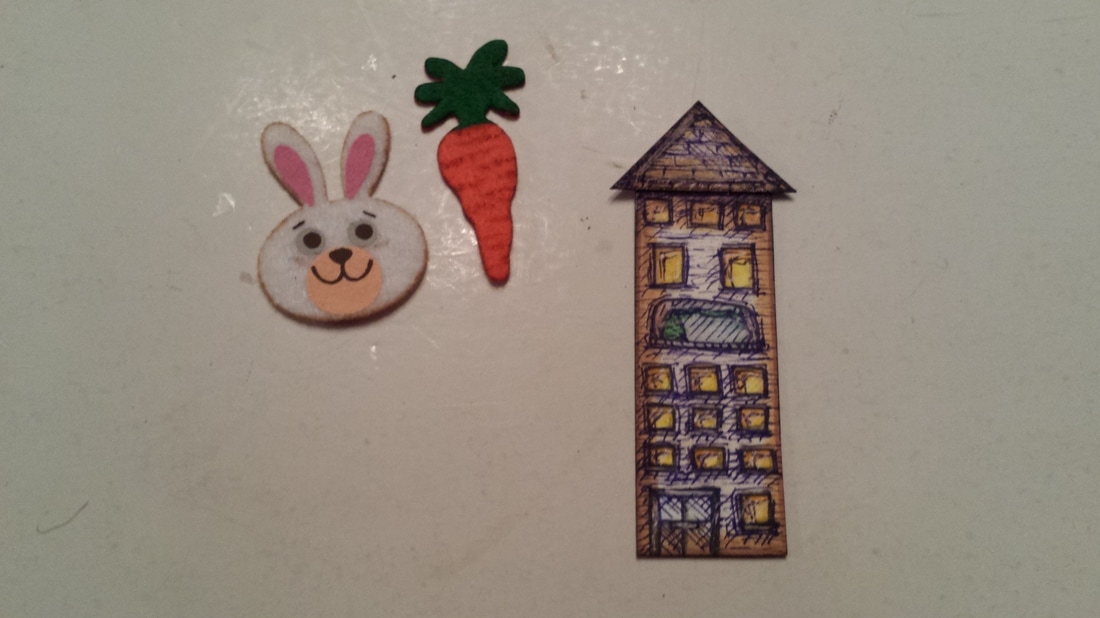
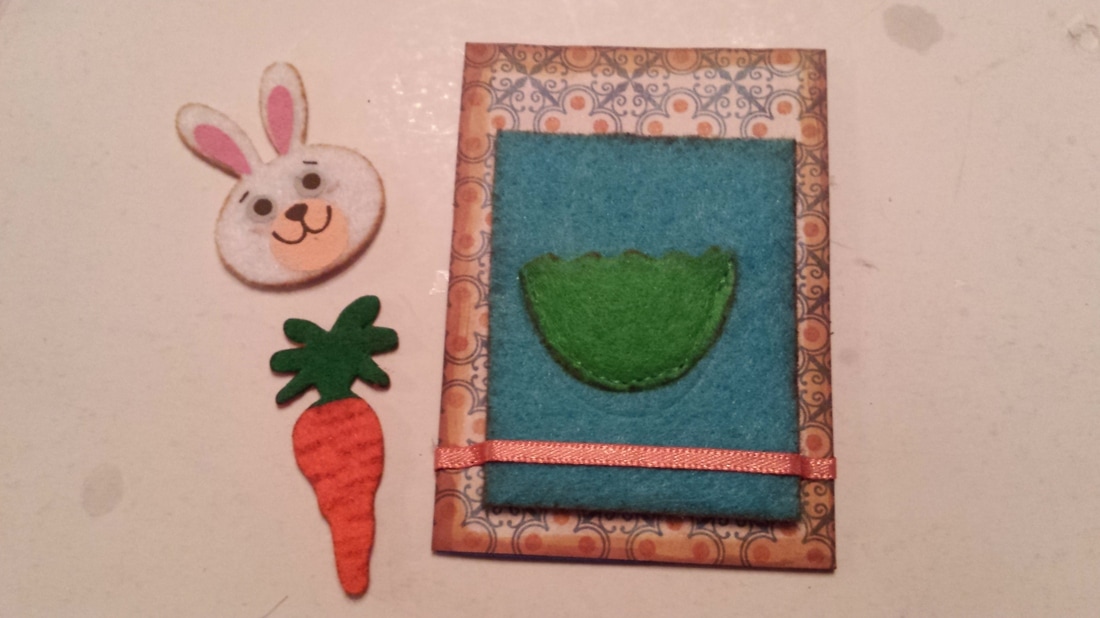
What I created: I made a mini pocket letter. Originally I was planning on making this so that it can be mailed without an envelope but I just couldn't figure out how to keep the extra art goodies from falling out so I did end up putting it in an envelope. I do plan on figuring out how to make a pocket letter than can take on the postal journey without protection but some other time. I did try some experiments on this one though. The actual pocket (plastic sleeve) is cut in two different places. There is a slit for where the bunny can be placed in without having to remove the background card. The second spot is for the flower. I did not want to glue the flower on top of the sleeve and so glued the flower on the card first as normal. I then proceeded to measure the location of the flower and size, then cut a circle that was not too big. The flower had to be forced through but I knew that was going to happen which is why I did not make an origami rose. Thank the fates for creating felt fabric!!! I wanted to add another handmade art piece but couldn't find a spot to fit an ATC in... I ended up placing a Moo House in there instead.
Intro: I recently was involved with multiple MMH (Make Me Happy threads) of ATCsForAll where we had to create postcards. Some of them had themes already decided by the person who they were made for and one had no theme at all. I was also participating in a Valentine Exchange that let me create 2 Valentine postcards. Along with an EAU thread - I got make my first envie and mail it off. There was also an art marathon going on that inspired me to make some heart themed ATCs. What I created: All of the snail mail art that I made used the following materials:
Note: For those that these were surprises for: I am sorry if they still have not arrived and I have already posted them here. It has been over 2 weeks since they were sent off, so I posted these keeping in mind that they have already arrived. The longest time for me was a trade completed in Slovakia and the cards reached their destination within two weeks. Intro: Just catching you guys up on recent art that I have traded already. I specifically made these for personal trades set up on ATCsForAll.
What I created: All of them were made using watercolor, Le Pen marker, and white roll gel pen. The Stained Glass Rose and the Heart inchie both have puffy paint used for outlining. I made three ATCs (2.5"x3.5") and 6 inchies (1"x1"). Further thoughts: I was recently feeling very inspired by Art Nouveau stained glass art and had decided to create a bunch of ATCs and postcards that a similar style. I already knew I was going to be using puffy paint as a replacement liner (gutta) for the stained glass art and Chinese watercolors due to their stained look. So far I was not exactly pleased with what I created due to the tip of the puffy paint bottle not behaving properly. I am going to get a fine tip liner bottle and try again to see if I am able to get better results. Intro: I think it is good to on a routine practice certain techniques especially in mediums that you use most often. So I am going to dedicate time to practicing with Watercolor as it my favorite medium to work with. I wanted to work on some exercises that are perhaps productive but mainly relaxing. The first exercise I focus on is texture... you'll see many posts in the future that cover this exercise in different medium. I'll move onto another one once I feel more confident about creating textures. What I created: So I used this as an excuse to get started on the ATCs that I have discuseed in a past post. I thought it would be a great exercise that is relaxing and productive at the same time. There are many things that could be created while working on an exercise such as booksmarks, gift tags, placeholder cards, greeting cards, etc. I find ATCs are the better ones to work with as they come in handy for personal use and can even be used as gifts. Bookmarks are great as well but too many readers are getting away from traditional books to digital books... so the audience is very limited. Using masking fluid in some of the ATCs as foundation I then used these three main texture techniques: 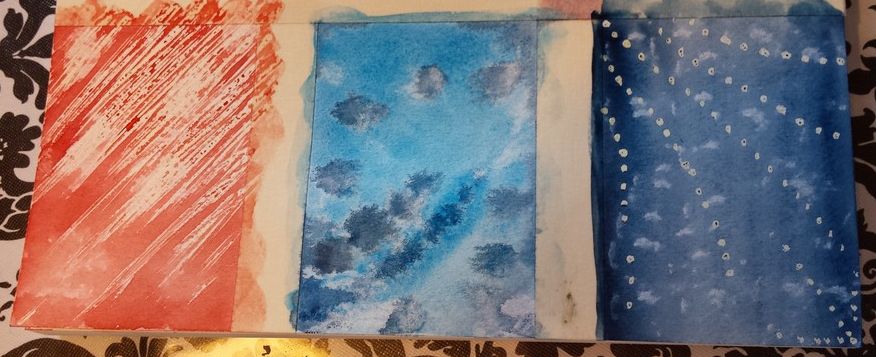 1. The first type of texture I made was using paper towels. There is a bit of variation in texture when you use clear wrap/cling wrap... I tried both just too see how much of a difference there is. 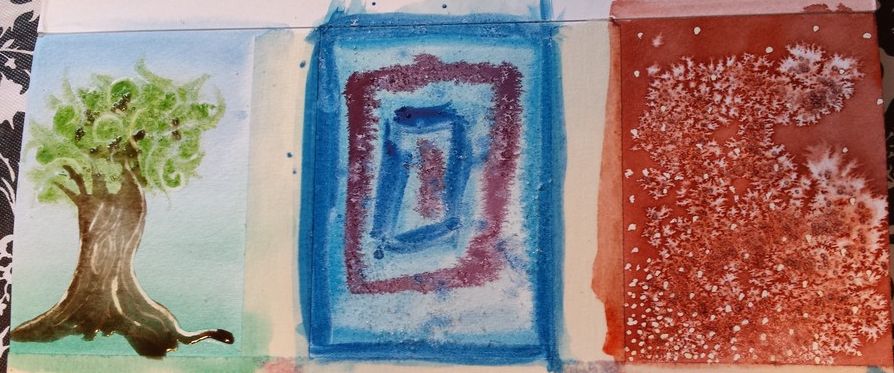 2. Another texture technique I used was done using table salt. This same idea can be completed using sea salt and rice grains to give bigger shapes to the pigment cluster.  3. The last texture type was created using rubbing alcohol. Final touhces were added to the textures once the bookmarks dried using markers and pens. For a cleaner edge you can create a borderline all around the edges using a marker or pen... or even get fancy and use embossing powder. You can purchase stickers online to place on the back of the cards.. or purchase stamps. I just wrote everything by hand using the same felt tip pen I used on the front of the card. I might look into investing in a stamp in the future or create my own as I do have the rubber canvas needed for creating your own stamp. 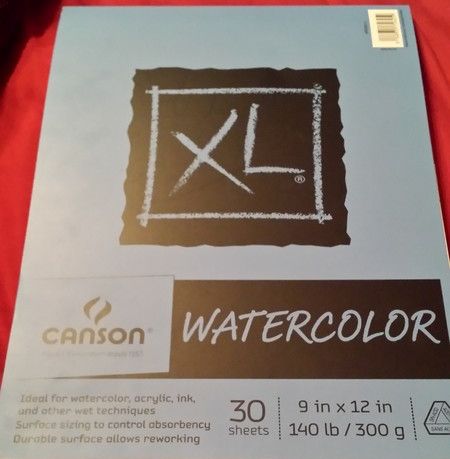 Materials used: I purchased a Canson XL Foldover Watercolor Pad for doing some portraits but decided that I needed a spiral type journal for that. I have instead decided that I am going to use this watercolor pad for creating my ATCs and perhaps other things like tags, bookmarks, cards, etc. I kept the traditional ATC size of 2.5"x3.5" and had a variation in the numbers of cards I got depending on how I divided the page. One way produced only 6 cards...leaving a big chunk of paper at the top that I first thought could be used for bookmarks. Then later I decided to go ahead and divide the page out the opposite way and got 9 cards from the page with zero leftover space. Just enough space is left to allow clean edges to be cut. I used regular masking tape to divide the page into sections. I also used Reeves Watercolor and a mix of Chinese Watercolor when painting this... pretty much whatever happened to be on my pallette already at the time. I also went over the cards (once the paint had dried) using regular sharpie marker (brush tip).
Final thoughts: I do plan on keeping the information section of the cards the same from here on...whether I create them in polymer clay or watercolor. I wanted the back to have detailed information and thus did not purchase the stickers or stamp. Just enough detail for the card on it's own to be informational but not too much so that it looses the interest of the readers if the information is placed inside a guidebook. I think for my first exercise this turned out quite nice...I was expecting more of a disaster. I have decided that it may be time to invest in some better quality watercolor if I am to keep creating watercolor works. Better quality versions of the ATCs can be viewed here: ParadoxSketchbook Gallery at ATCsforAll. I wonder if this same texture exercise can be studied using other mediums...? Intro: I have recently been looking at ATCs (artist trading cards)... perhaps creating my own? I do plan on creating them in multiple mediums and then assembling them to create a bigger work of art.
What are they: just as it sounds... trading cards for artists. Collectors use them to collect art of certain artists or various artworks surrounding a theme. An artist can use these cards to brainstorm, doodle, work on ideas, or even create mini versions of final works. Some use these to create 2D versions of something they'll make in 3D materials. Artists do exchange ATCs with each other, some sell them, some gift them...the possibilities are endless. What I am going to make: I am going to be creating 3D ATCs using either air dry clay or even polymer clay. I want to try and make previous paintings or sketches come alive by recreating them in 3D materials. I am going to assemble a collection of watercolor ATCs so you'll be seeing some of them in the future uploaded here as they are created. I do believe the polymer clay ATCs are considered Artist Tiles and not trading cards... but the whole idea is to use them with the same purpose as trading cards - collecting, exchanging, or gifting. Final thoughts: For now I am going to simply start by painting on watercolor paper, keeping the same size and then assemble my own set of cards once I have around 10. I am not going to purchase pre-cut cards.. I'll just cut them on my own. Once I decide that I am able to create enough art on such a small canvas then I'll purchase pre-cut cards. With that I'll also be creating a collection of ATCs focused on "studying." It'll include drawings done in pencils and pens about the human figure and natural objects (trees, birds, etc). You'll be seeing plenty of tests and discussions related to this topic in the future. Here's to a brand new year of creativity with hopefully a lot of new exciting projects... and a truck load of productivity! |
Author: RejiI used to be a digital artist but switched back to traditional art as I feel more connected with the art I create this way. Currently, I create art whenever I can for art trades and commissions. I have worked with clay (earth clay to modern forms like Polymer, Sculpey, even Air Dry clay) along with watercolors, acrylics, oil paints, pastels, charcoal, pen and pencil drawings, India ink, Chinese Colors, wires, felt fabric, yarn, weaving, basket making, and the list goes on and on. I am currently working on exploring nail art, make-up, dress making, scrapbooking, and small canvas art. Archives
April 2017
Categories
All
Copyright © Reji Randhawa | The Paradox Sketchbook. All rights reserved.
 All work on this blog is licensed under a Creative Commons Attribution-NonCommercial-NoDerivatives 4.0 International License. |
 RSS Feed
