|
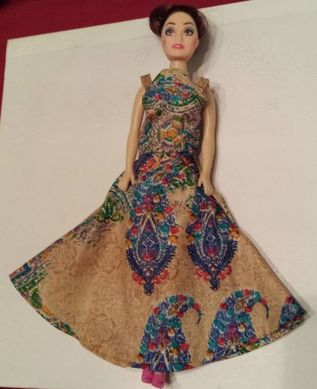
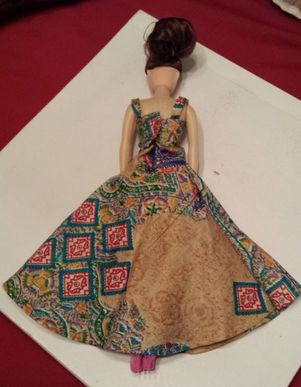
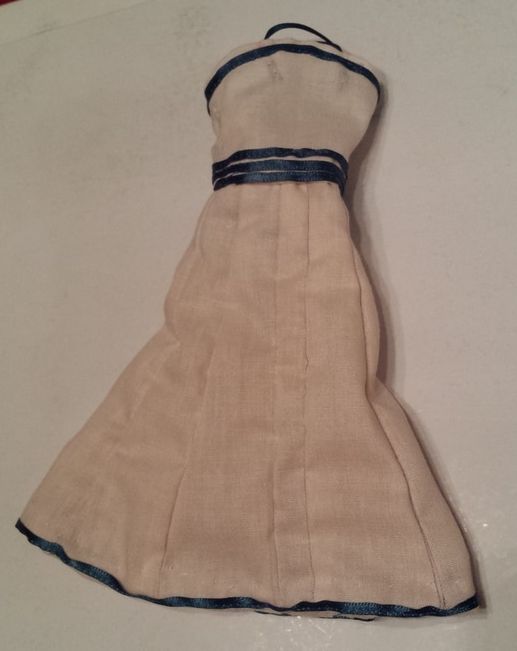
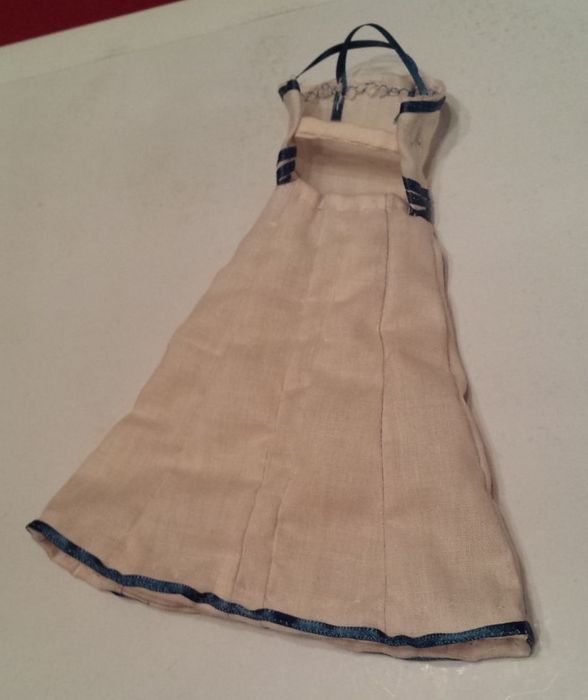
Intro: I figured it was a good idea to see what the umbrella cut dress would look like before blindly just creating one with kali (pleats). I wanted to make a simple one to see how the overall look was for a home-made dress in this cut (they all look good online but usually not in person). What I created: I went ahead and created another dress for the doll that I created in the first test. I took some parts from the same fabric that I was going to use to create as a trial dress for myself. I went ahead and first created a pattern on scrap paper... once I had a pattern that I was satisfied with I went ahead and transferred the pattern to fabric. It didn't take long to create this dress perhaps because I had learned basics from the first test. This second test went a lot smoother than the first time and definitely turned out nicer than the first one when completed. Final thoughts: It looks like that both types of dresses can be created - with pleats (kalis) or umbrella cut. The type of dress I want to create is now ultimately going to depend on the design I want. I am thinking about creating a few sketches on actual designs (decorations and embellishments) then I'll go from there. I'll post sketches once I have them completed. It'll be quite a process as I'll have to create the design keeping in mind that it'll have lights included. The dress still has to look nice without lights on...and with the lights on the lights still have to fit in with the design - wow!!! That's quite a headache that I already see coming.
5 Comments
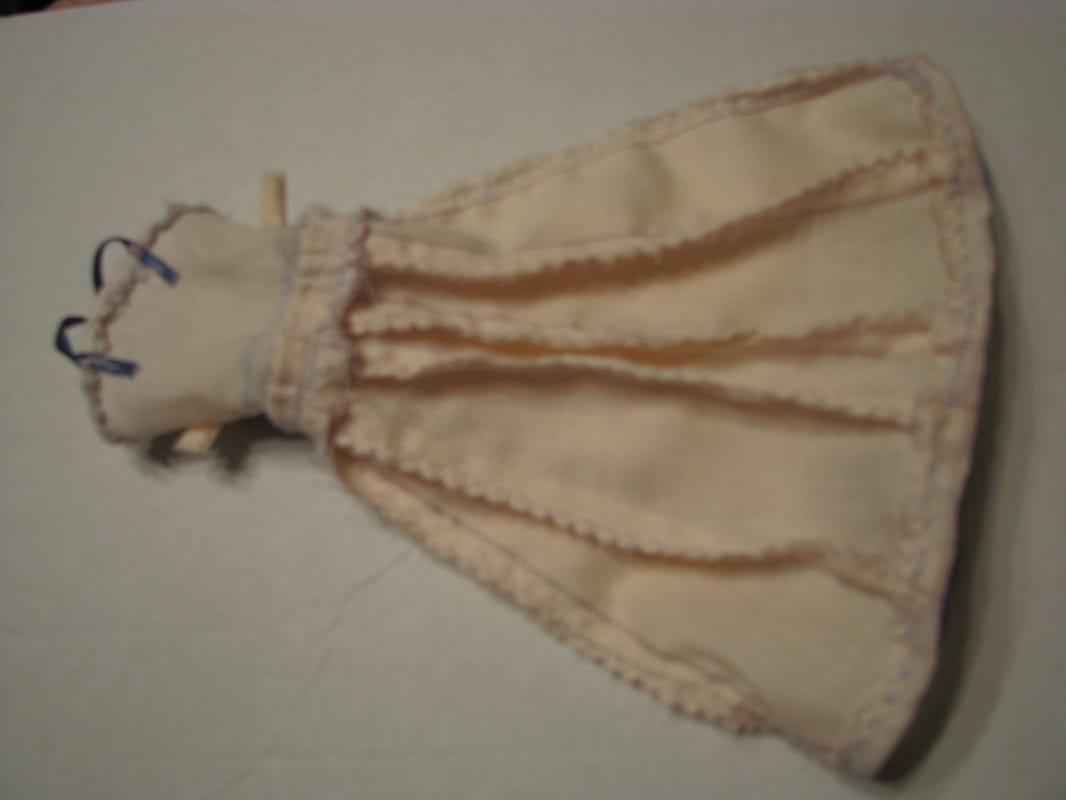
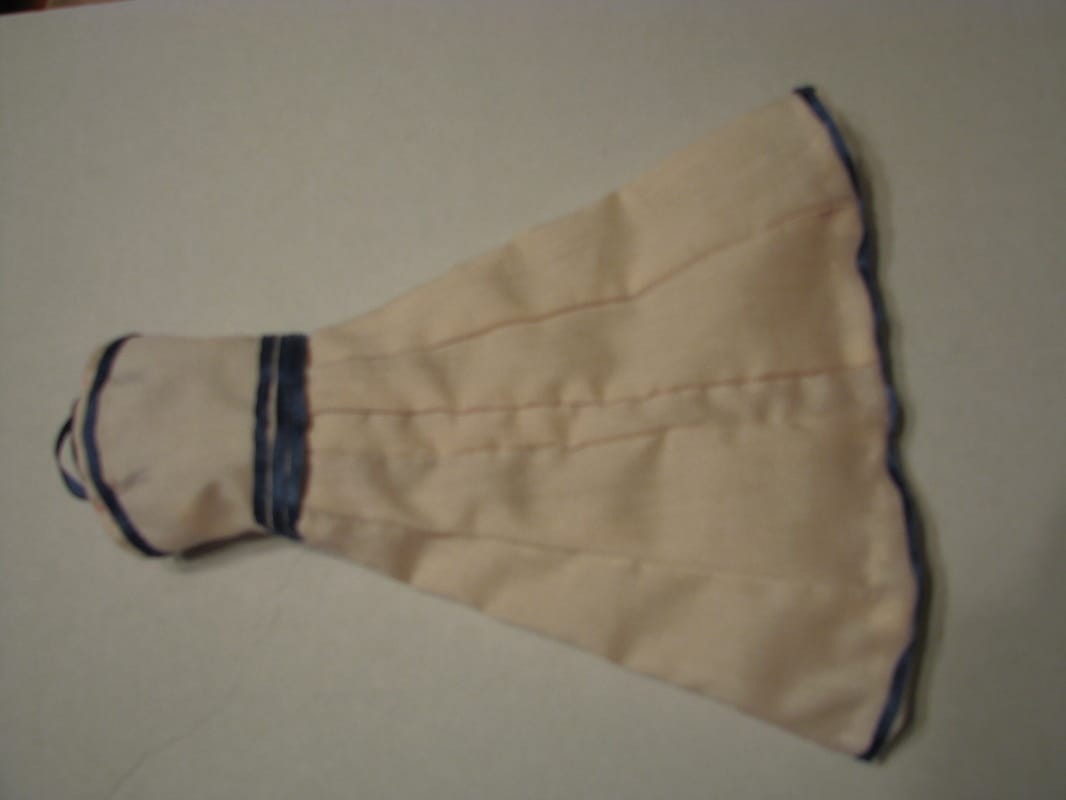
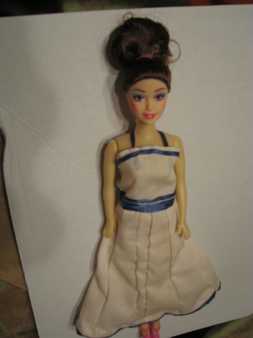 Intro: I am wanting to create a light-up dress in the next coming months. In order to make it I have to first learn how a dress is properly made as I have never made a full life-sized dress before. I have made miniature lehnga for dolls in the past but the dress type I am wanting to create is Anarkali. What I created: In my opinion it would be best if I learned how to put together a simple one first before diving into a more elaborate work. I decided to create a simple dress that would be made using pleats and not a full circle made of one piece. To test things out I made a small version for a doll first to make sure I understood how to evenly measure each pleat type. Typically the pleats (kali) are all the same in size and shape but I am going to make more of a traditional skirt as I do not want that many pleats for this test dress. The traditional method has the biggest pleat in the center (2 as one goes on the front and the secon on the back) with the side pleats being smaller in width. This doll dress currently has 5 pleats (sections of fabric) for the front and 5 for the back with a total of 10 sections creating a full circle. I am going to use this as a model to create a full size dress using more than 10 pleats if this is the method I end up choosing. The fabric I used for this doll dress was really the wrong type of fabric to be using for tests... lesson well learned. It was all I had available at the time in scraps. I originally created the top part of the dress (blouse section) in model of what I would create for a life size dress but I had to change that as it does not fit the doll due to the doll not having proper portions. So I re-created the blouse similar to the small one piece that she came with. Things worked out better that way. I know I am going to have to see if I can cut the circle skirt in proper size so I might create another mini dress to test that out... or just stick to newspaper. What I would change: I would pick a better fabric to make even this test with... It does not help when the fabric you are working with frays with the simplest touch. I would pick a bigger test subject, such as a bigger doll or even a child sized dress. Final thoughts: I am thinking after some research that I might end up using a combination of both skirt types. Using the pleats at the top for the main fabric then using the umbrella (circle cut) skirt for the lining with other materials in between to add form to the skirt. Has anyone attempted something of this scale before?
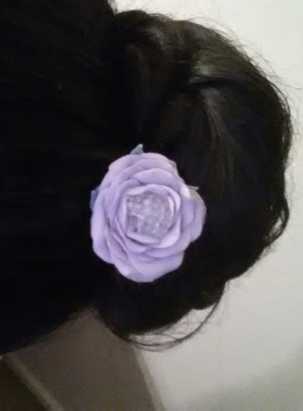
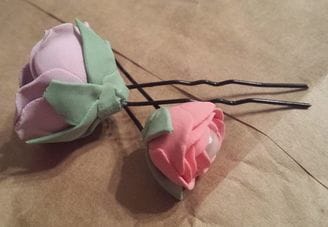
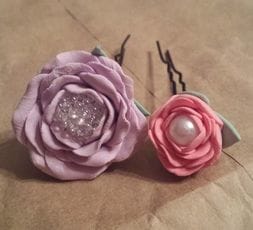 Intro: I recently purchased an air dry clay that I have used in the past for a senior inquiry project (college). This clay is a little different from the other air dry clay you can purchase in-store (not counting the online clay) because you can mix the colors while the clay is wet and it is extremely flexible, even after drying. I wanted to make something from this clay to test the durability (Amaco Cloud Clay) and also to see if the pigment added to the clay had to be something specific to last longer... so I used Simply Art Acrylic Paint and Jacquard Dye-Na-Flow to see if the durability changed depending on the medium used to add color. What I created: I decided to make something for every-day use to test the durability of the clay on a small scale... So I created custom hair pins by adding air dry clay flowers to bun pins. I made a pink and purple flower using the dye to give color to the clay (I purchased only the white clay from Jo-Ann Fabrics); and for the green I made two different sections, one using the dye and the other using acrylic paint. I also used beads as the center to add some shine to the flower as the colors were pastel... even after adding so much medium to just a small amount of clay. In Summary: I wore each pin for a whole day (roughly 10 hours) so far and there is already a difference showing in quality. The petals made with the acrylic paint mix did not even last that long, perhaps because I was not bending the petals to see just how flexible they truly are before reaching the snapping point. One petal broke off just an hour after wearing and the other fell off just as I was removing the pin at the end of the day. As you can see in the images below the petal did not come off from the core (where it was attached to the flower) but just in half where the clay was the thinnest. The pink flower is doing great so far...it has lasted a whole day at work and even some hours at home. To make it clear: the pins were placed in a bun and I did not touch the pins after placing them in my hair (except to remove them again at the end of the day). I actually even had my head covered with a veil while having the pink flower on for a few hours. I did not have my head covered while keeping the purple flower pin in. Closing thoughts: I am thinking about further trying to make these flowers with DAS Air Dry Clay, perhaps using an acrylic sealer for more durability. I want to for sure now using the dye create a larger flower to see if the clay spread out on a bigger scale is weaker or not. I'll be posting a tutorial at a later date on how to make these quick and simple flower pins. Any ideas on what else could be used...? At any rate I enjoyed making these...and wearing them (while they last).
|
Author: RejiI used to be a digital artist but switched back to traditional art as I feel more connected with the art I create this way. Currently, I create art whenever I can for art trades and commissions. I have worked with clay (earth clay to modern forms like Polymer, Sculpey, even Air Dry clay) along with watercolors, acrylics, oil paints, pastels, charcoal, pen and pencil drawings, India ink, Chinese Colors, wires, felt fabric, yarn, weaving, basket making, and the list goes on and on. I am currently working on exploring nail art, make-up, dress making, scrapbooking, and small canvas art. Archives
April 2017
Categories
All
Copyright © Reji Randhawa | The Paradox Sketchbook. All rights reserved.
 All work on this blog is licensed under a Creative Commons Attribution-NonCommercial-NoDerivatives 4.0 International License. |
 RSS Feed
